

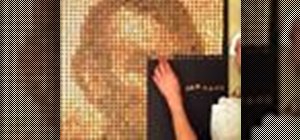
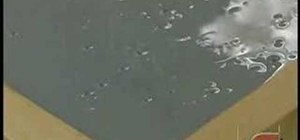
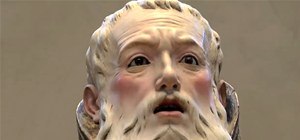
This timelapse of builidng a portrait of Abraham Lincoln was done with $17.02. Use the front and back of pennies, to create the perfect Abe portrait. This video needs to be watched a few times to figure it out.
Just updated your iPhone? You'll find new emoji, enhanced security, podcast transcripts, Apple Cash virtual numbers, and other useful features. There are even new additions hidden within Safari. Find out what's new and changed on your iPhone with the iOS 17.4 update.


1 Comment
This video totally sucks, because it doesn't tell you how to do anything.
But here's one way you can do it:
1) Empty your change jar and separate out all the pennies.
2) Divide your pennies among 11 cups, by separating them into ten different shades of darkness. The first cup should contain all the lightest pennies and the last cup should contain all the darkest. The eight cups in between should contain pennies completing your scale of shades. Mark the cups 0 - 10 so that you don't get them confused!
3) Find an image that you want to use and decide how large you want your final penny picture to be.
4) In Photoshop, convert your image to greyscale. Go to Image>ImageScale and enter 1.33 as the resolution, then enter your target width/height. The resulting image will be a pixelated version of your original picture, but it will also be a representation of your what your final image will look like. It's also the key to your final product. Square by square, use the eyedropper tool to figure out what percentage of black is in each pixel and make a note of it.
If you don't have photoshop, you'll have to do this work manually, by drawing a grid over your image and figuring out where each section of the grid falls on a scale of 0-10, lightest to darkest. To create the grid, divide the length and height of your final size by the diameter of a penny to figure out your "resolution". Use this formula:
Desired height (in inches)/.75(approx diameter of a penny) = pennies high.
Desired width (in inches)/.75 = pennies wide
5) Layout your final image by laying out your grid of pennies. The lightest pennies should be used to represent the squares in your image that are closest to 0% black and the darkest pennies should be used to represent the squares in your image that are closest to 100% black. If you do it backward your image will appear inversed.
Share Your Thoughts